Powered by Blogger.
Showing posts with label buttons. Show all posts

Random Thoughts and Embellishing T-Shirts for Pink Saturday 4/24/10

Friday, April 23, 2010

Happy pink saturday and thanks to Beverly of How Sweet The Sound for hosting this. I visited with Jennifer at Peacornpopnutssodagumandchewingwater for the first time last week. Now that's a mouthful, but she has a darling blog. Full of beautiful flowers for spring. Go visit her, chicks. Also, I met Olivia, one of my most favorite names, and her blog is Shabbychictreasures. I must say she is delightful. Cute blog and some darling ideas and has a red kitchen. Squeeeeeal! She's a shabby chic fan just like most of us.
~*~

I never know what direction my blog will go until I sit down to blog. Sometimes it's decorating this house, sometimes it's camping—squeeeeeealing with fright when hubs mentions he wants to go caaaaaamping and get me away from my iMac computer, sometimes it's a trip to visit our kids or grandkids, sometimes it's a dinner for Love Bunny, sometimes it's a story about decorating the Christmas tree (see it in the sidebar and drool) sometimes it's a visit to our local nursery or an antiques store, sometimes it's about crafting in the studio and making anything I have a mind to that day, sometimes it's a conversation with Love Bunny and his wit, sometimes it's my lack of wanting to be fashionable(!) and sometimes it's just random thoughts and musings out of this old head. Whatever it is, I hope you enjoy your visit here. Ya just never know, chicks, what I'll talk about. But look forward to my hat/cattle/cow tipping post coming up soon.
~*~

We've discussed this before: I am NOT a fashionista or diva anymore. About 20 years ago, before we moved here from California, I'd spend about $8,000 a year on clothes. I worked in an office. I don't now. I stay home. I love it. I look like a bumpkin pretty much most of the time. But I figure I'm clothed and modest, which is a big deal with me. I don't flaunt anything. I dress properly for church but don't bother with designer clothes anymore. I have boxes and boxes of clothing up in my garage attic, mainly because they're a size 10; I'm not a size 10 anymore. But we won't go into that.

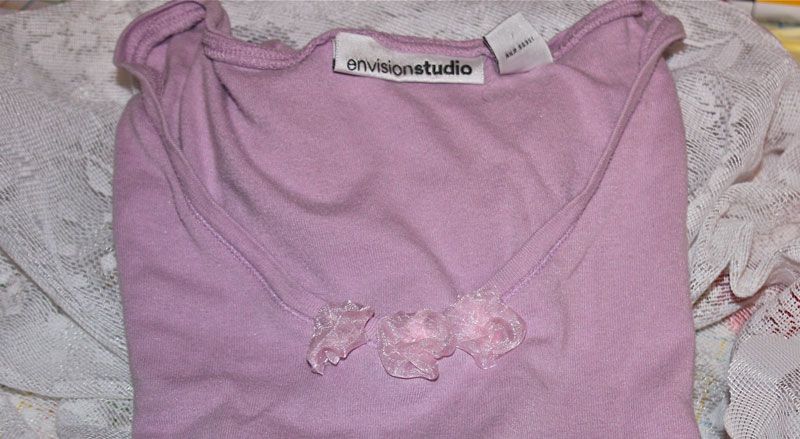
I do like t-shirts because I wear special garments because of my religion. I don't wear sleeveless things unless I have a shirt or jacket over it at all times. But I get tired of the same t-shirts and blouses so I've decided to embellish these old ones. I mean there are only so many colors we can buy, right? Plus, after looking at the price tags on little t-shirts at Macys today, I figure I can make them cute myself and pass up the outrageous prices. But I do love embellishing inexpensive t-shirts. I cannot tell you how old these 2 below are. Very! I'm changing them. The lavender one actually looks cuter than the photo because the tiny ribbon flowers I made look askew but they are on perfectly straight, I can assure you.

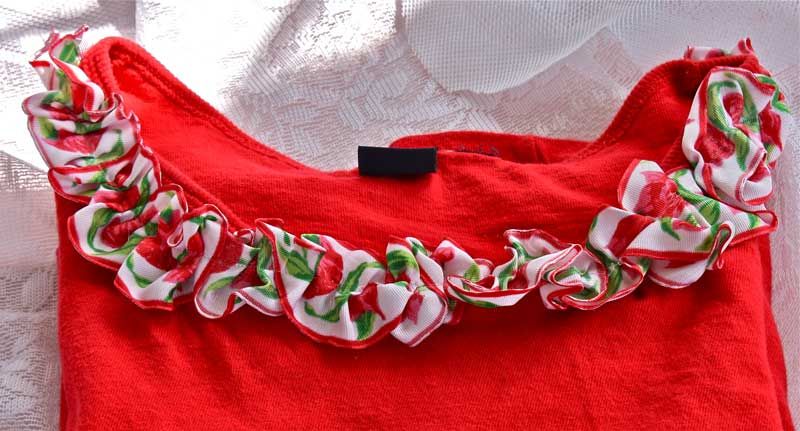
I ruched a ribbon and attached it to this really old t-shirt.
And recently I ordered 3 dresses because I'm tired of wearing the same ones to church. I don't buy many clothes. Didn't you listen?! ;-) But they are relatively plain so I thought I'd make some embellishments ahead for when I receive them next week. I gathered some ribbon, made a custom button and put it on. I think it'll look sweet on one of the dresses. This shirt is bright red and it kind of drowns out the color of the flower so see below for another photo.
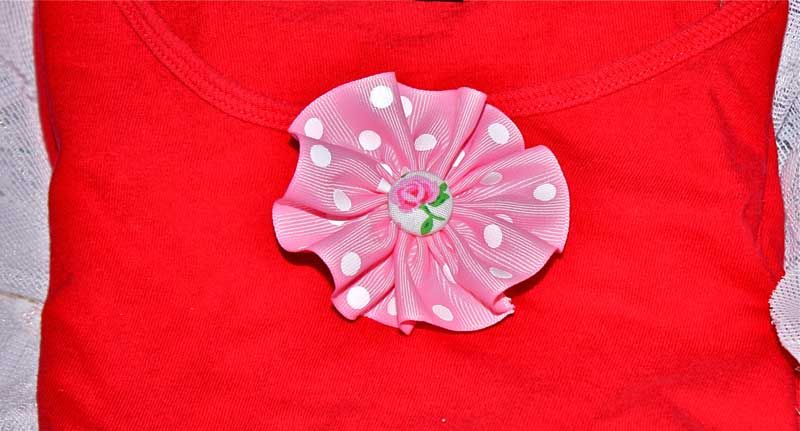
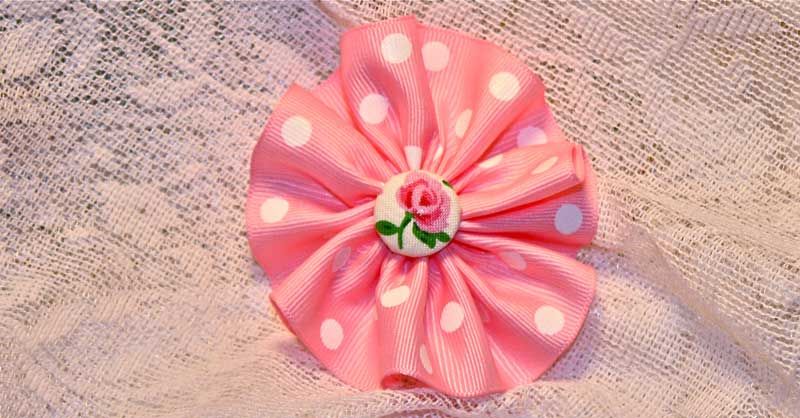
Not sure yet which dress this will go on, but maybe the purple one. I love those colors together. But this pin is interchangeable so doesn't matter too much. I'll find a place for it!
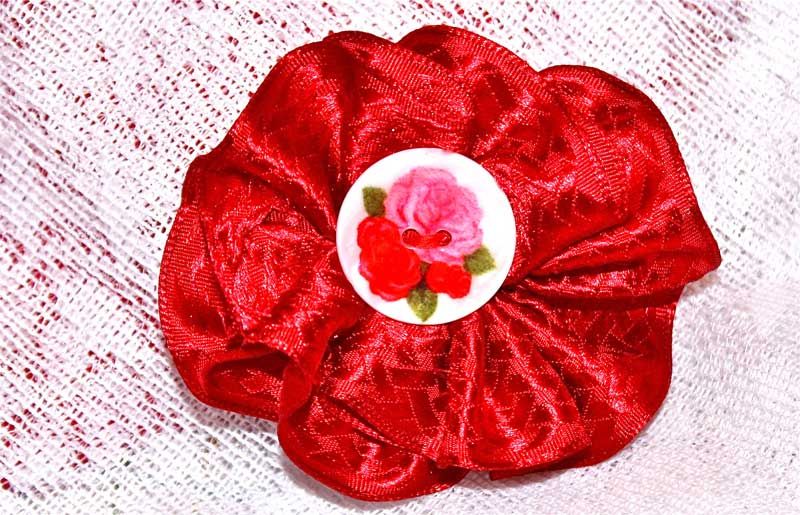
I've never made fabric yoyos before and this is my first. I need more practice but my fingers are so dry they are hurting me from doing all those paper roses and handling all this fabric. Sigh...
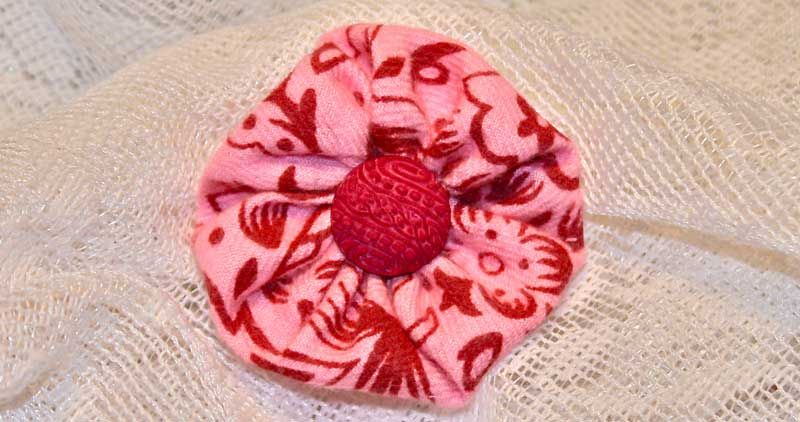
I know just the place for this one because one of the dresses is turquoise and this should look great on it.
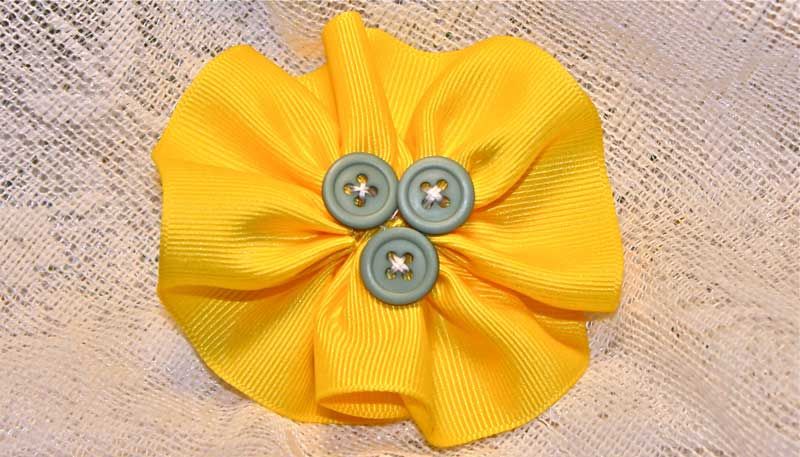
A better photo of this pin than on the red shirt.
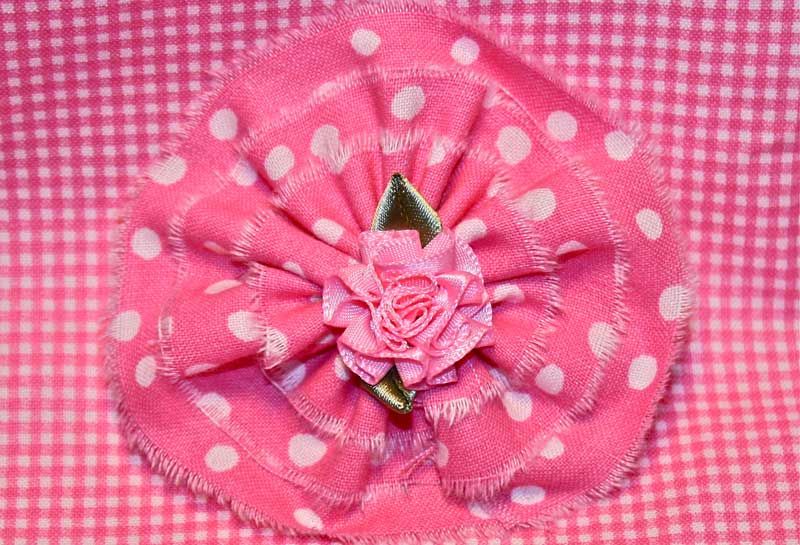
This little ragged pin took me about 10 minutes to make. Quick and easy.
So there you have it, my sweet little chicks. Several ways to embellish your t-shirts or blouses without the high cost of buying at expensive stores plus they will definitely not be seen all over the place so you'll be unique...just as you truly are. ;-)

But I'm going to make you work for this one. If you can't figure out how to make them, you're going to have to ask me. I just want to know if someone actually reads what I say. *Sigh*...... :-)
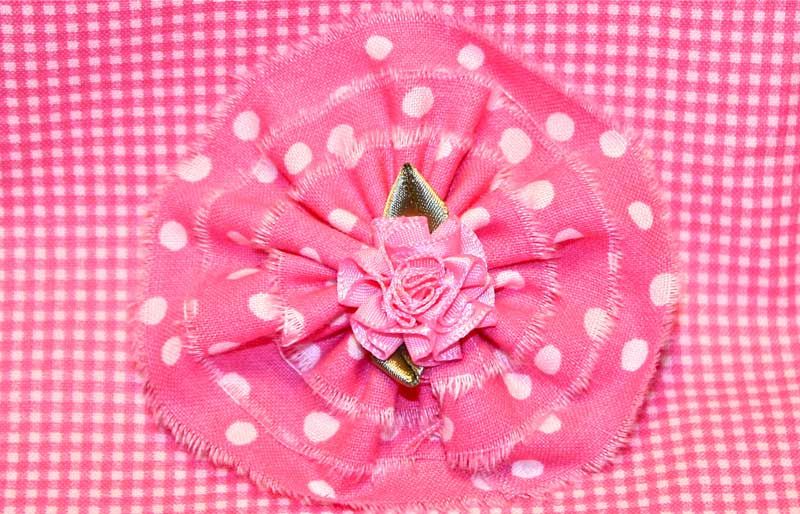
~*~

Sally Hansen hair removal glue strips do not work. Hairs have to be 1/4" long to work and I'm not letting my chin/lip hair get that long.
*
I haven't yet eaten enough pastries to be willing to trade this world for one in which the existence of sugar is not guaranteed by theologians.
*
I like rain. I like whatever weather God chooses to throw at the world—storm, hail, wind, cold, heat—because the variety and extremes of creation are what make it so beautiful. We had a thunder and rain storm tonight and hubs, and I went out on the porch to drink in the adventure of it.
*
Real estate ads will sometimes say "wild life" in the area they are promoting. Does that include skunks? I don't think I'd want to live with them.
*
There's a commercial on the radio for men's prostate problems. Hubs and I get a kick out of it. It asks if you get up in the middle of the night to go to the bathroom. He mentioned to me that he sure hopes he does because he wouldn't want to pee in the bed. He's such a card, that man!
*
When the health clubs start selling Twinkies and chocolate cupcakes filled with white gooey stuff inside, I'll join. Not until then, I can assure you.
~*~

New Kind of Roses

Monday, November 23, 2009

Since I have to make some things—having been challenged by my eBay group—for my Christmas tree next year, I've been looking at some inexpensive things I can make along with some purchased balls. I found these scrunched flowers and though I'd share a tutorial with you.

They are originally made with card stock and this is what I had on hand tonight; although, I did make some with coffee filters since I have a glut left over from making the roses. Do NOT try the coffee filter roses if you've had too much caffeine! It could be detrimental to your well being. Trust me on this one! Stick with these "scrunch flowers."

Anyway, I'm going to show you how to do both and the difference. Yes, there is a difference. Coffee filter ones are very soft and "floppy" while the card stock dries rather rigid.

As I said I used what was available and I had these water colors so I used them on both. I'll try acrylic paints later. I also learned some valuable lessons you won't have to bother with since I've found all the hard things beforehand. ;-)

I made a template out of a sheet of copy paper. You will need 2 sizes and this is what I started out with: the large one is about 4" wide...

...the small one is about 2" wide. I think this is too big so I'll do some smaller next time.

Size comparison for you.

Cut 3 pieces of the large one and 3 pieces of the small one.
Then spray a mist of water on each of the six flowers. Mist, not saturate and punch a hole in the center after placing all 6 together. Then scrunch it up into a tiny little ball—all six pieces. Scrunch, scrunch and more scrunch! Put a brad through them starting with the smaller 3 first and then adding the 3 larger ones.

This is the coffee filter one. Very pliable.

This is the card stock one. I experimented with the watercolors. Dabbing gently on pink and then yellow.

The two of them side by side.

This morning I got up and did this one with card stock and photographed it out in the early morning light so it has that ethereal blue light that comes just before the sun peaks and peeks over our horizon on this side of the world. I love it but it doesn't give the brightest and best light. The others were taken at my kitchen table at night with incandescent light.

This one I did with the original size of the small flower but decreased the size to 2 3/4" for the large flower. I like it much better. I shall try it again with 2 1/2" for the large flower and 1 1/2" for the small flower. I, also, did the watercolor with a brush that was almost dry. I wet the brush, dried it off with a paper towel and then stuck it right into the red paint in the paint tray. I didn't dilute it in a bit of water, just almost full strength and touched the ends very lightly with the brush. You can experiment on your own for the look you prefer. Very easy and cheap.

Okay, since Love Bunny is tired of having all this stuff on the kitchen table I've decided to skip the "coloring" part and just use plain white card stock for this one. My craft room is in such a disarray that I can't even function in there. Yikes. I guess I'd better clean it up a bit, but I needed a bunch of space on a table top to do this experiment. Hence, these are the last ones for a while until after Thanksgiving.

These were the easiest and quickest. I used a compass to make 3 circles 3" round and 3 circles 1 1/2" and cut them out with some fancy schmancy scissors, scrunched them unmercifully after misting them and then glued them together with a button glued into the center. Use your creative mind and put things other than buttons in the center. Some glue and glitter in the center, a piece of jewelry, ribbon bows, bottle caps or anything you desire can be adorable. I don't know if I'll be making a bunch of these for the Christmas tree next year but I shall make some. I am going to also make them out of scrapbooking paper in pink with roses. With those I'll not mist them at all. I think it is thin enough to just scrunch, glue together with a button and put a little ribbon on them to hang from the tree or simply stand them on a limb for fillers.


Okay, okay, I just couldn't stand it without pink so I went ahead and just dabbed pink acrylic craft paint on the edges and look how much more depth this gives it. This last one is definitely the easiest and quickest flower.

This is absolutely, positively the last one before I publish this blog post. Again, the easiest way is to cut circles, scrunch and glue together. Very, very quick. I used 2 different designs of paper here and put some glue in the center and sprinkled it with some glitter. No spritzing the paper this time. Oooh, and I did a 1 1/2" on the outer one and 3/4" on the inner circle. A very nice flower for a card. Cut out several and have on hand for whatever occasion you have.

These would be absolutely great for making cards and putting a flower on them. Quick enough not to get too involved and you can make several ahead at one time and have them ready whenever you might need them. After all, they can't get any more "scrunched" without looking even better! Happy crafting!!!!
~*~

New Shabby and Chic Pink Apron

Sunday, April 5, 2009

In answer to a couple of questions about my aprons, I haven't made or sold any on ebay for awhile. Ebay has just been too slow so I haven't put any on there for a long time. I'll have to replenish my stock on them though as I have no more for sale now.

But this is one I was working on for a while and just completed. Ruffles, buttons, lace, shabby chic fabrics and many different kinds of fabrics on this one. I had to sit down and decide how to do it to get the maximum amount of scraps on it! Then once I had the vision in my head, I measured, cut and started sewing. I used polka dots, stripes and checks to tone down all the roses of pink and red. Kaffee Fassett pocket on the top. Lots of buttons including designer and fabric ones I made myself. I've counted 13 different fabrics in this little apron including the neck piece and the ties and little loop explained later! And lots of decorative stitches on this one also. It is truly one-of-a-kind because I have no more of the red and white polka dot fabric.

Up close you can see a little purple and red button on top, a little fabric covered one I made on the bottom and a ribbon rose and vintage lace on the sides.

Here you can see the little flapper button. This really is a girly girl apron!

Bottom half of this apron. Notice the double ruffle. Squeeeeeeeal!!!!
Jazzy sparkly button on the top left of pocket and a strawberry one on the bottom left.

Some vintage crochet lace from a tablecloth and a fabric covered button I made.

Another piece of crochet and pink ribbon roses along with a pink polka dot button.

I wear glasses for close up reading and work. However, I seem to always have mislaid or forget them so I have added a little fabric tab here to help me keep track of them by simply putting the ear piece through this little loop and they're pretty secure. A hankie could also be inserted here. I've covered a button with Mary Engelbreit rose in one of her fabrics.
~*~

Random Thought

Sometimes I have to ask hubs 3x what he means to answer his question properly. Men and women definitely DO communicate differently. *Wink*
~*~

Pink Saturday 12/27/08

Friday, December 26, 2008

Beverly at How sweet the sound emailed me recently to remind me of Pink Saturday and whether I was participating or not this week. Well, as things go I almost forgot about it until this evening!!! So while hubs was talking to his sister in Pennsylvania I grabbed the camera, turned out all the lights in whatever room I was photographing and snapped pix. He's used to it by now so he just kept right on talkin' to that chick and I just scurried around trying to find some pink things that you haven't already seen. This was a next to impossible task! But I'll post some pink "fluff" for ya because I do NOT want to disappoint Beverly. ;-)

While this isn't PINK it is lovely. I discovered it today while taking down our tree and putting ornaments away. (Yesssss, once the Christmas day is done that tree comes down to give us more room. BUT we have figured out a place we can put it next year to leave it up a tad longer.)

Anyway, this ornament was packed away in some soft cotton batting and I'd almost forgotten about it. Someone special gave it to me many years ago and I thought I'd share it with you. I didn't put it back in the ornament box but intend to hang it somewhere in my office or sewing/craft room. It isn't light but actually heavy and I'm sure it's fragile.

Look at those gorgeous grapes and the gold on this beauty. I absolutely love it.


A pretty pink box I keep my Sculpy in, a purple box I keep decoupage ephemera in, a pink toile box I keep my finished clay roses in and a pink rose box I keep "secrets" in. *Wink*

You may not have seen these little birdhouses I make. Not really for the birds but just full of barkcloth fabrics, "icing" and roses. I've never been successful at selling most of them and that's my gain as I place them around my house for my pleasure. "Their loss; my gain!" But they truly are a labor of love, intensive to make and absolutely stunning when seen in person.

This is one of the first I made. I started from the bottom up. I cut out foam board, glued it together and added all the lace, fabric, roses and stuff you see on here. It also is truly lovely. Ooooh, not because I made it but because of the lovely rose fabrics all over it.


This one was made with House Inc. fabric. Very very expensive - about $30.00 a yard but it never sold either. I added the pink "icing" and it looks so lovely with the Waverly polka dot fabric I hated to sell it but then it didn't sell so my gain again! I'm very philosophical about it. My interest in selling is to share some of these beauties, not to make money so it isn't essential that they sell.

This one I went over the top with!! I added so much stuff just because I wanted to - tiny birds, paper roses, buttons, vintage lace trim and vintage fabric, leaves around the bottom with little flowers. Adorable.

Just because I thought I'd add one more "PINK" item for you to see. Hah. Have a wonderful day, my sweet chicks.
Beverly, I DID it!!!! Now to sit down and chat with the hubs..... *Sigh*..........

Connie's Giveaway for Today!

Thursday, June 5, 2008

I am sooooo sorry this is being put in late but no matter. Not a good day at my doctor's office to have stitches removed. What should have been a fifteen minute "snip" appointment took 2 hours!! That really frosted my cookies because we had other plans that could not be put aside. But that will NOT ruin the rest of my day!!

Okay, my sweet chickadees, here is what I'm giving away today. I woke up and thought about doing this but didn't have anything especially "special" to give away, but here it is. Now, the only - and I mean ONLY - thing you have to do is post a comment here. The names will then be put in a hat and drawn on saturday morning. Be sure and leave me your email, if I don't already have it, so I can email you!!!!!


The above photo is all of it. Explanation follows below each photo.

A sweet silk rose in a dusky pink to do with as you please. Place it under a dome or in a cup with some faux grass or pin to a jacket or blouse.

A simple handful of buttons can brighten my day. I love little buttons to decorate with.

This is a sweet little chick for hanging. I call her Mortie. Yep, love that cute little name.

A postcard of a view of a lake with sailboats from a porch with a wicker rocker. Lighthouse is on there also and a pot of flowers. Just to hang somewhere for those who don't get to oceans, lakes, streams or ponds very often. Or you could frame it as I've done with many, many of mine.

This looks like a simple vial, but let me tell you it isn't! It is filled with the luscious fragrance of the Hawaiian islands - plumeria. If you've never smelled it you are in for a treat. It will fragrance a room for months.

I took a sachet of this to my surgeon's office and Debbie, his nurse, says it smells up the whole examining room! And let me tell you it can definitely get "odorous" in there!!

A handful of pale green ribbons. Fun to craft with or just toss in a pretty glass container and feast your eyes on them.

A handful of lovely little pink ribbon roses. Again, toss into a glass container and enjoy the view!

A handful of pale pink ribbons to craft with also or........well, you get the point by now, right??!!!?

And lastly, a sachet fragranced with this wonderful plumeria fragrance.
 

Popular Posts