Powered by Blogger.
Showing posts with label making ribbon roses. Show all posts

Fabric, Paper and Ribbon

Saturday, March 20, 2010

Just wanting to mention to those of you who haven't seen my laundry room that the new "Pages" at the top of my blog just under the banner and entitled "My Home" includes the photos of my laundry room, which you just might find interesting. ;-)
~*~

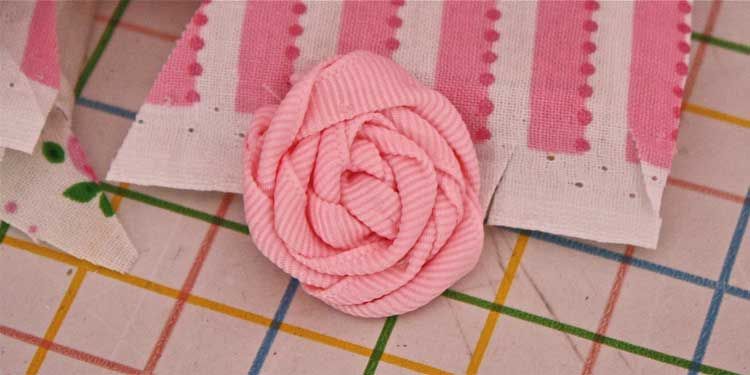
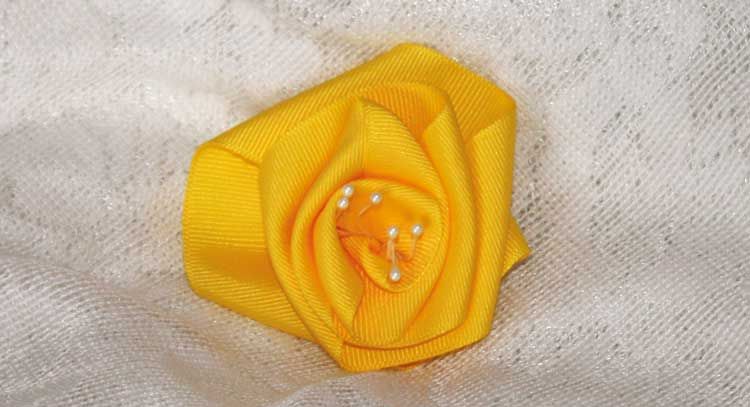
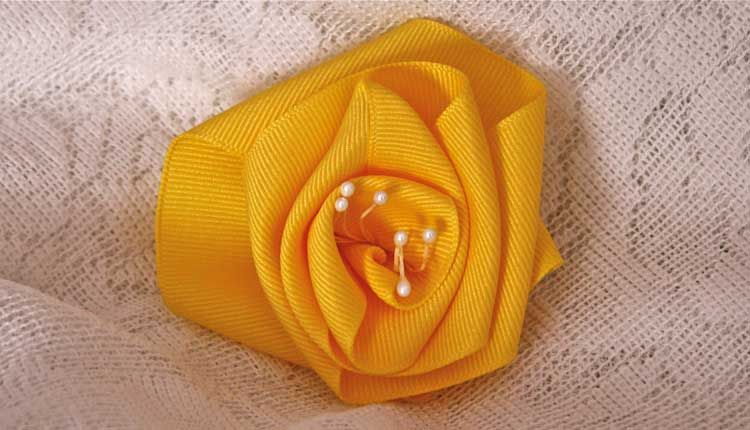
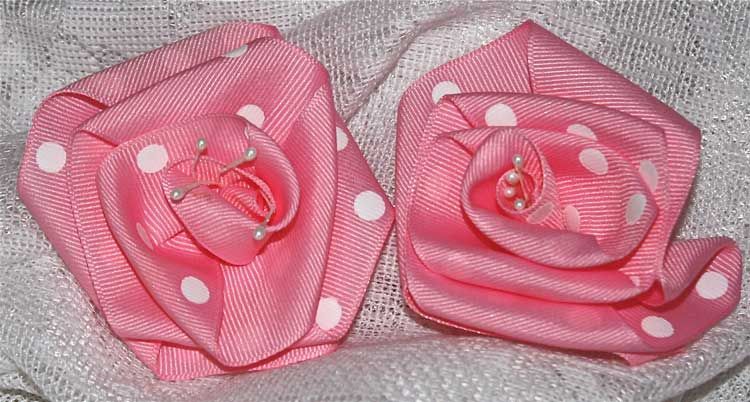
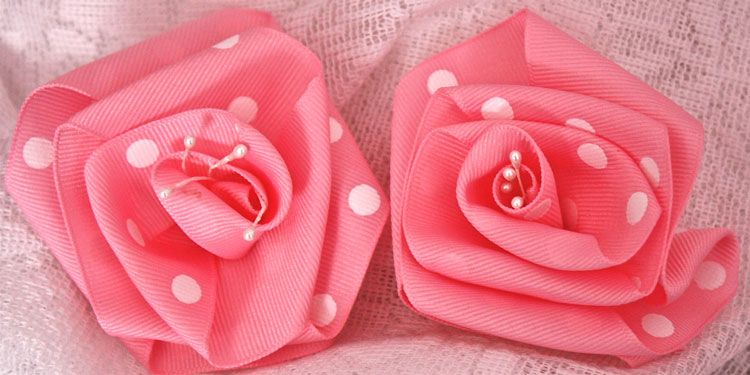
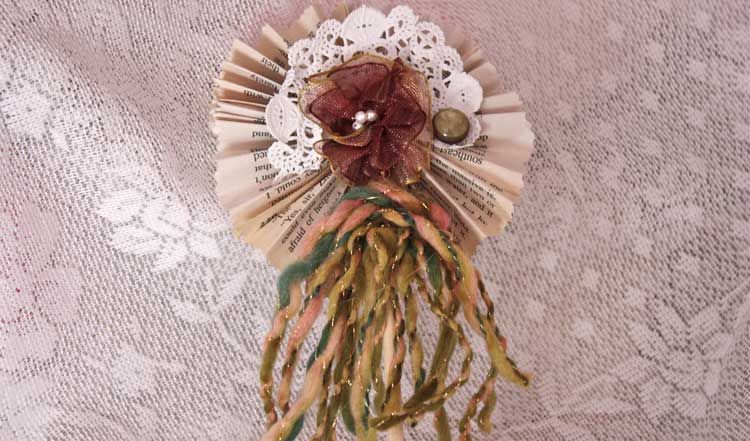
On th' rose kick again, chicks. Just trying out different things I can do with them really. These are what I've come up with. I may try selling them on etsy though. Every single one is a different rose unless I mention that it's NOT or they are in groups. I don't remember how many I've made the past few days. DUH!


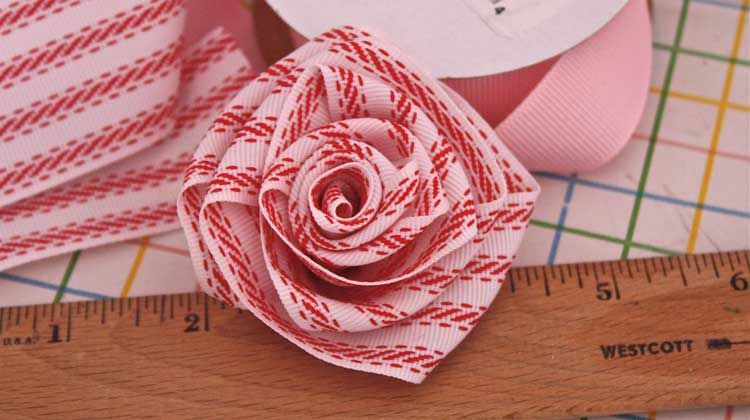
Back of the above lolli. I love pink and red together.

I call this one my "grunge shabby froufrou" lolli. ;-)

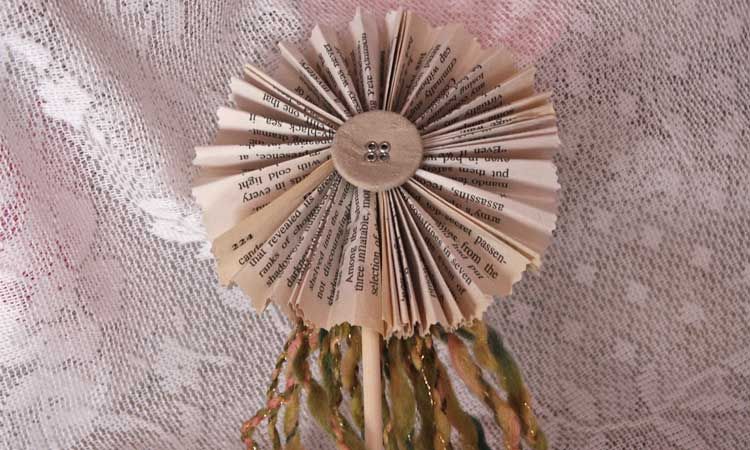
Backside of one above.

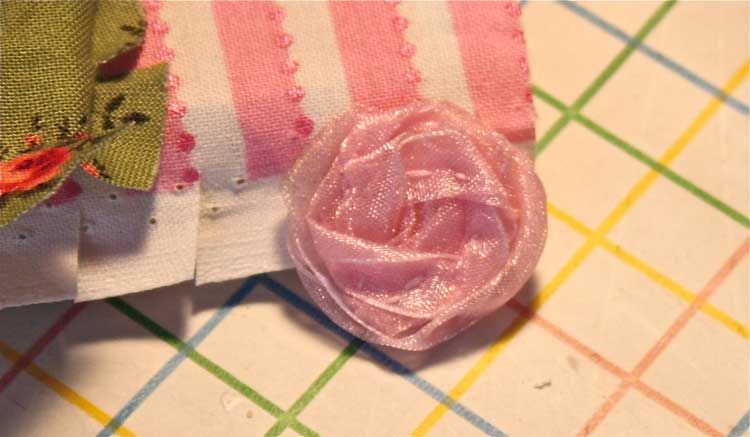
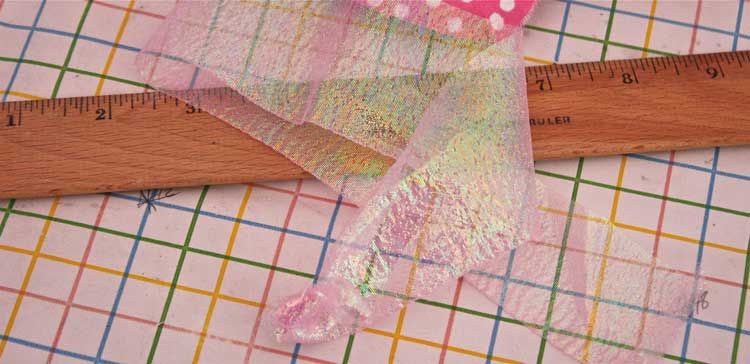
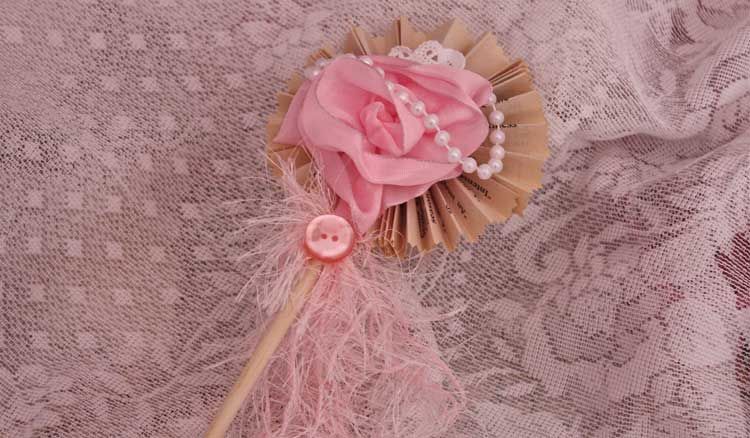
I call this one "majesty." Pink ostrich feathers and a rolled fabric rose. I also put a pink crystal on it.


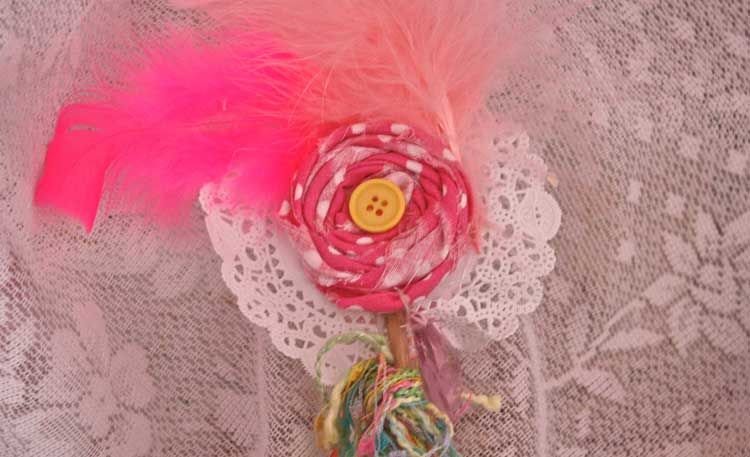
The back has another rolled rose made of iridescent fabric.

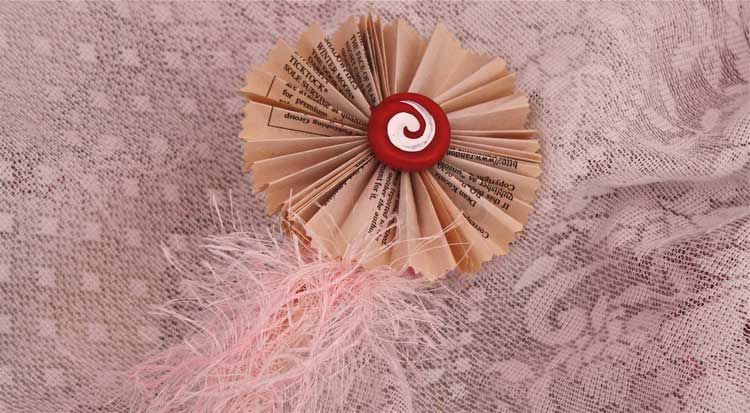
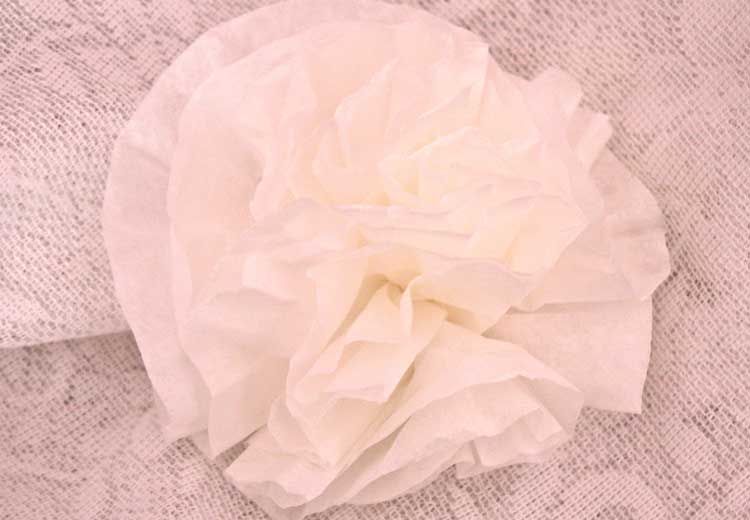
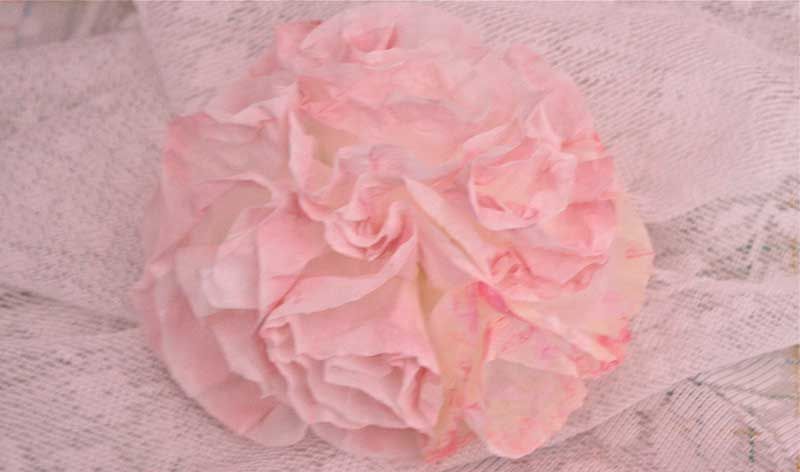
And this one is another paper rose I'm experimenting with at the moment.

And one in pink.

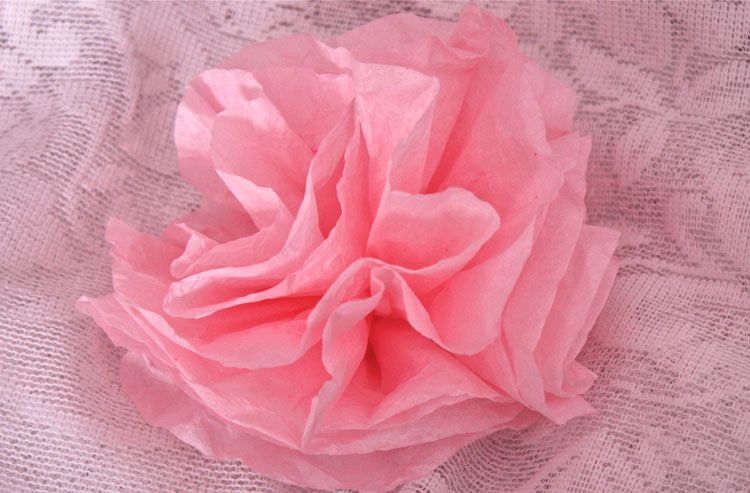
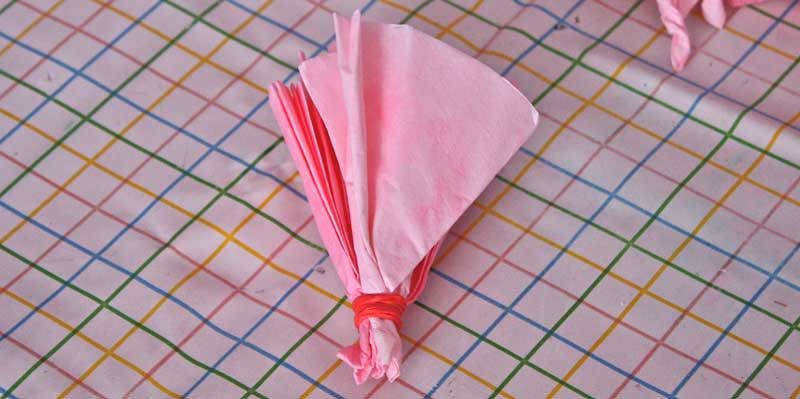
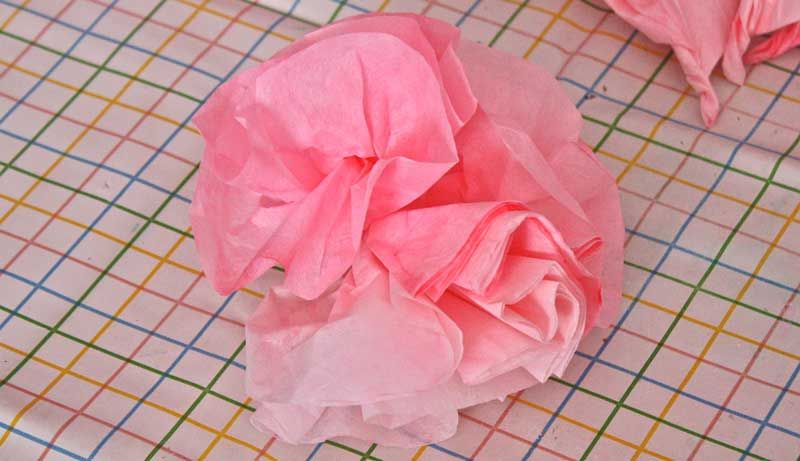
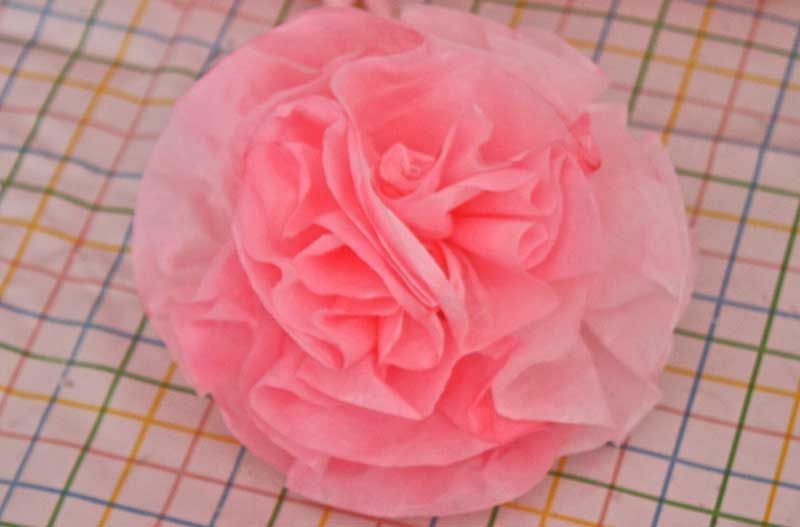
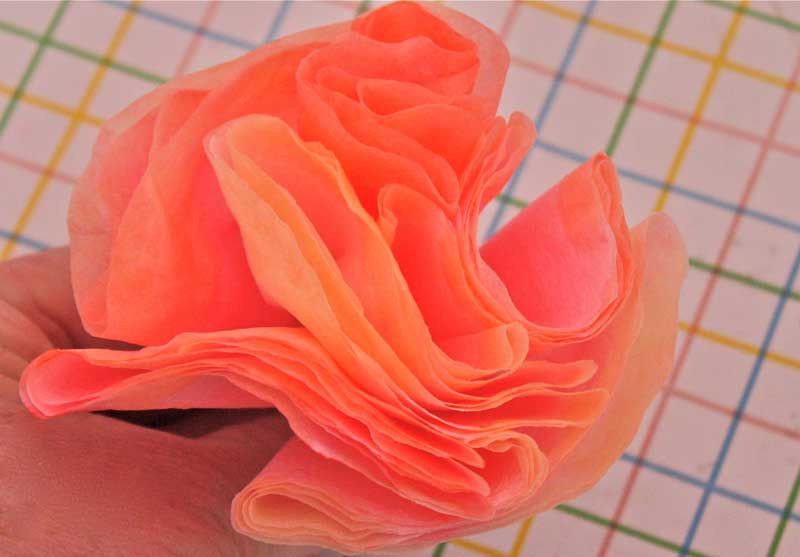
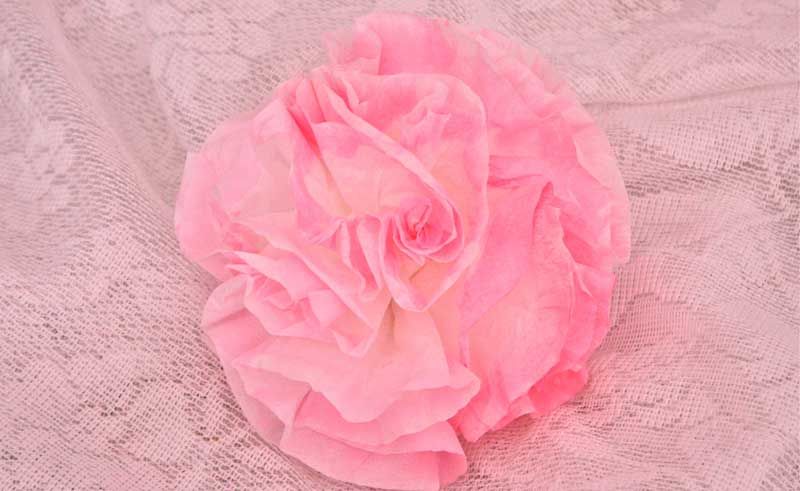
Again, these are made from coffee filters.


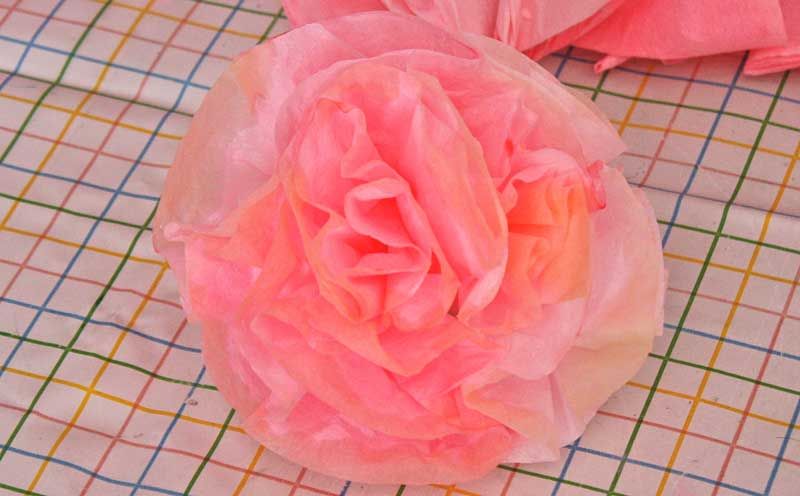
My absolute favorite one so far. It's really beautiful for a paper rose.

These are NOT really orange but are simply too close to the camera but I've got to hold it while taking the picture and that's pretty much CLOSE.

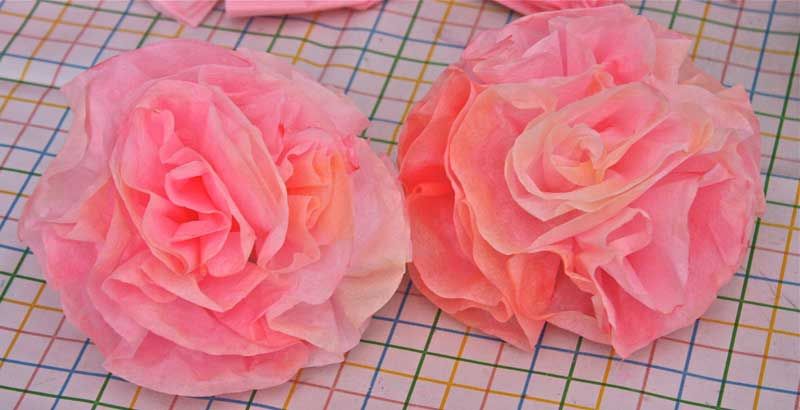
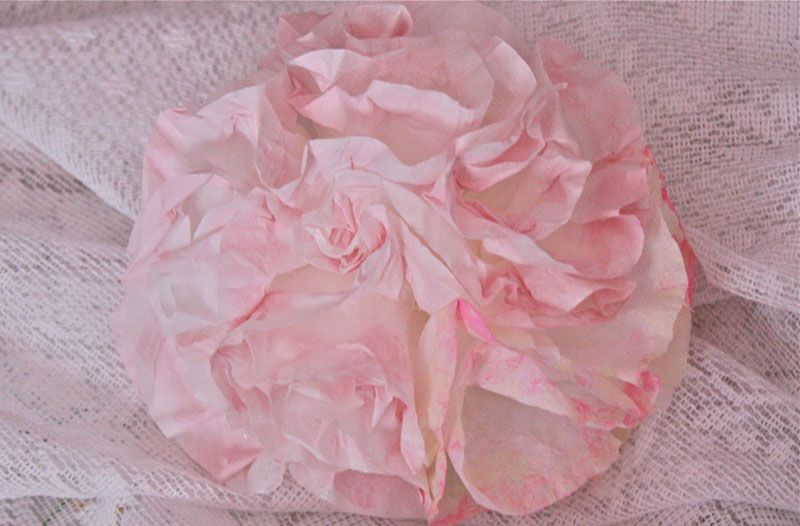
Now, these are the ones I dipped in food coloring but later I added yellow watercolors around the edges. I just dipped the brush in the watercolor and dragged it around the edges. No right or wrong way to do it, just practice to get the effect you like best.


Two with the yellow edging. Each one will turn out differently.

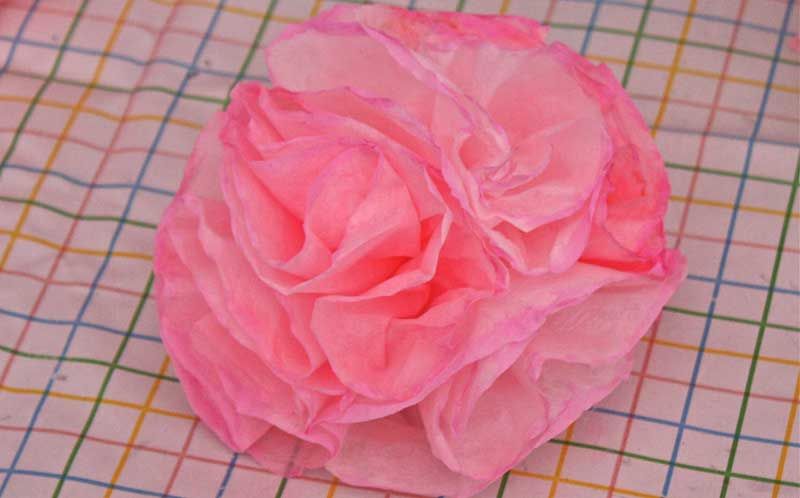
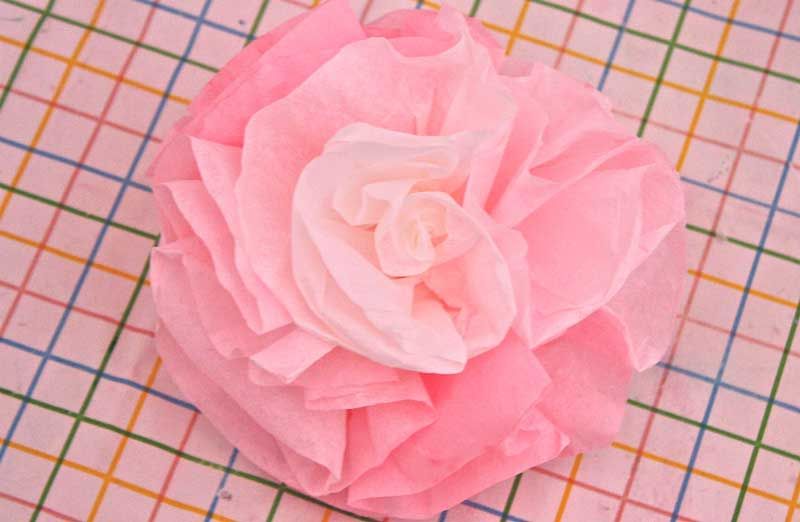
This one I edged in darker pink—almost magenta edging. Gorgeous in person!

This one I painted with acrylic paint around the edges. It turned out really lovely.

This one came out blurry and I knew it would because I was taking it in my studio (I've decided to call my craft room my studio) without much light plus I sort of moved when I clicked the shutter button and the settings were too low but after I downloaded it to my iPhoto I liked the soft ethereal look of it. I thought I'd just show you along with the better photo of it. Call me silly. ;-) But this one I used acrylic paint on it.

Here's the one where I didn't move.

~*~

Making Ribbon Roses for Pink Saturday 3/13/2010

Friday, March 12, 2010

Welcome to Pink Saturday again. Visit Beverly at HowSweetTheSound for the other participants. Last week I visited Tobi at pinkpixieforest for the first time and it was adorable!
~*~

I had a few strips of ribbon left over recently—and being one to not waste perfectly good ribbon, I tried a rolled rose with a 12" length of ribbon. It turned out rather well. I tied a knot in one end and just started twisting and turning tightly and then did a few stitches in the back to hold it together and am well pleased. Try it. You could even use smaller lengths of ribbon so as to not waste it.


This shows how big they are at 12 inches length. The one on the left is grosgrain and the one on the right is organza. Practice!


This is a piece of iridescent fabric I've had for ages not knowing what I was going to do with it. I probably got it out of the remnant bin at Joanns. Anyway, it wouldn't tear so I cut it about 1 1/2" wide and didn't measure so it's uneven but it was about 15", knotted the end and just started twisting and rolling it and putting in stitches as I went. Easy peasy and you have a really unique and pretty rose when you finish. You could even do this as you're watching TV in the evening. That's how easy it is. Just a few minutes per rose.

Finished it turns out to be about 2" or a bit less. I glued a tiny remnant of an embroidered rose to the center to hide a mistake I made. Beau, non?! :-)

And even some ticking ribbon can make the sweetest rose. ;-) BTW, how are you liking my new photos from the Canon Rebel? I'd truly like to know. I'm trying to perfect them, ya know. ;-)

And you thought I couldn't do yellow. Hah!

Just as an aside, this is late in the afternoon when the sun wasn't coming in the window across the room from this rose. See the difference from this one and the one just above it. I used no flash on this one and several of the ones above. I just let the natural light from the window flood in and then adjusted in my iPhoto—an Apple Mac application for photos. For this one below here I leaned in quite close so a bit of the light from the window was obstructed. The one just above here is where I stepped back and let more of the natural light come in. I'm nowhere near a pro, just a chick who wants to help y'all. ;-)

Flash on:

Flash off letting the camera use the natural light:

Now for one last statement and I promise you that's it. Don't think for one minute I didn't adjust the settings on all of these photos. I adjusted the exposure, contrast, definition, shadows and sharpness. And when needed, I adjusted the temperature and tint to get the most accuracy in the truest of all the colors that I could. It's all work no matter how you look at it, but you'll have some of the best looking and sharpest photos on the blogs, chicks. I can promise you that.
~*~

Oooooh, and a giveaway is just "around the corner", gals. Keep very close watch. ;-)
~*~
 

Popular Posts